Thủ thuật chụp màn hình nhanh cho Chromebook?
Bạn đã bao giờ thấy mình lướt qua các tổ hợp phím hoặc menu khác nhau, chỉ cố gắng chụp ảnh màn hình hoàn hảo đó trên Chromebook của mình chưa? Cho dù đó là công việc, giáo dục hay chỉ chia sẻ một đoạn ngắn từ màn hình của bạn, biết cách chụp ảnh màn hình là một kỹ năng thiết yếu trong thế giới kỹ thuật số ngày nay. Nhưng bạn có biết rằng có nhiều hơn một cách để làm điều đó trên Chromebook không? Với hơn 30 triệu học sinh và nhà giáo dục dựa vào Chromebook trong lớp học, khả năng nắm bắt thông tin trên màn hình một cách nhanh chóng và hiệu quả chưa bao giờ quan trọng hơn thế. Vậy, chính xác thì làm thế nào để bạn chụp ảnh màn hình trên Chromebook? Có các phím tắt hoặc công cụ có thể hợp lý hóa quy trình không?
Trong hướng dẫn toàn diện này, chúng tôi sẽ khám phá các phương pháp khác nhau có thể biến bạn thành một trình hướng dẫn chụp ảnh màn hình ngay lập tức. Từ sự đơn giản của các phím tắt đến sự tinh tế của việc sử dụng bút stylus, chúng tôi sẽ đề cập đến tất cả các cơ sở. Chuyên gia công nghệ Jane Doe cho biết: “Ảnh chụp màn hình hoàn hảo chỉ cách một vài phím, và chúng tôi ở đây để chỉ cho bạn cách thực hiện. Nhưng điều gì xảy ra sau khi bạn chụp ảnh màn hình đó? Họ đi đâu và làm thế nào bạn có thể khắc phục sự cố nếu mọi thứ không diễn ra theo kế hoạch? Chúng tôi sẽ đi sâu vào những câu hỏi này và hơn thế nữa, cung cấp cho bạn tài nguyên một cửa cho tất cả các nhu cầu chụp màn hình Chromebook của bạn.
Phương pháp 1: Sử dụng phím tắt
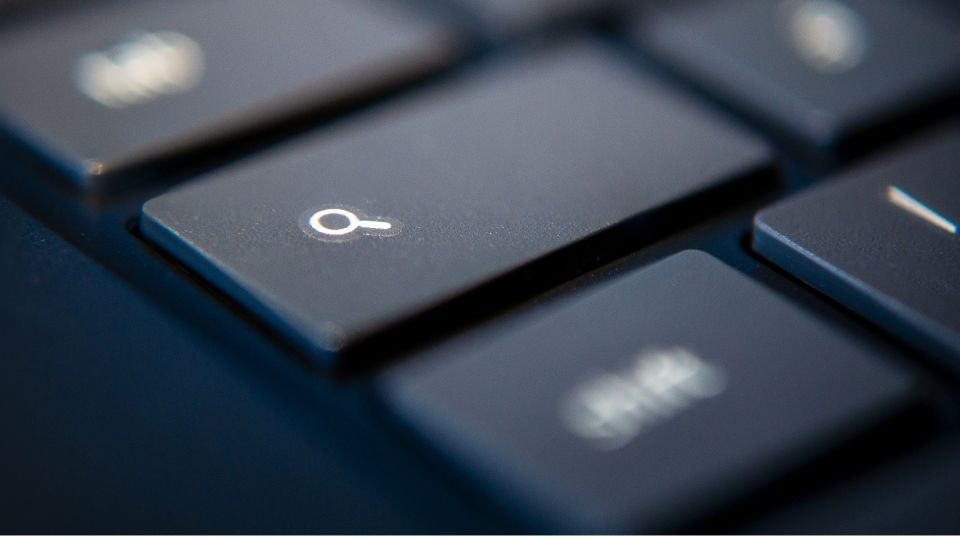
Cách dễ nhất để chụp ảnh màn hình trên Chromebook là sử dụng phím tắt.
Phương pháp 2: Sử dụng Bảng Cài đặt Nhanh
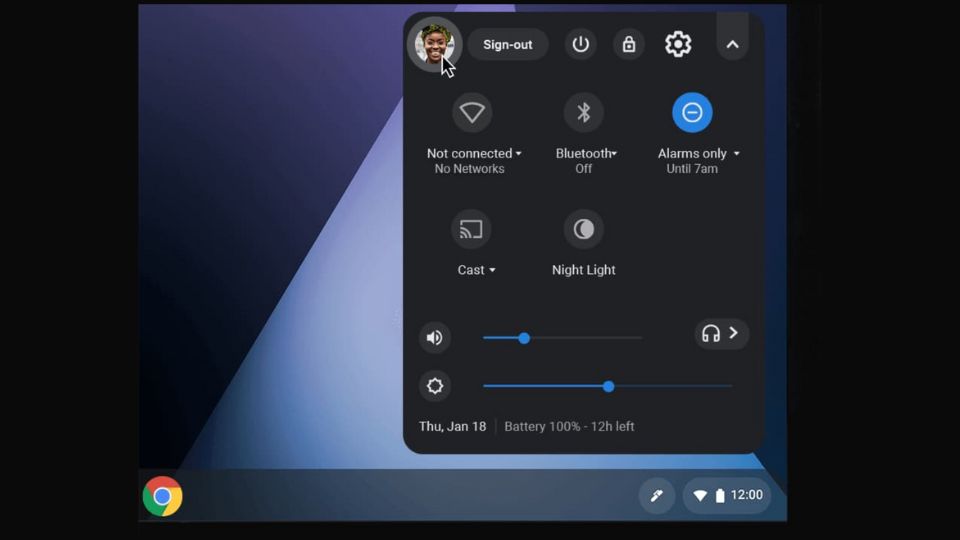
Bạn cũng có thể sử dụng Bảng cài đặt nhanh để chụp ảnh màn hình bằng chuột hoặc bàn di chuột.
Phương pháp 3: Sử dụng bút stylus
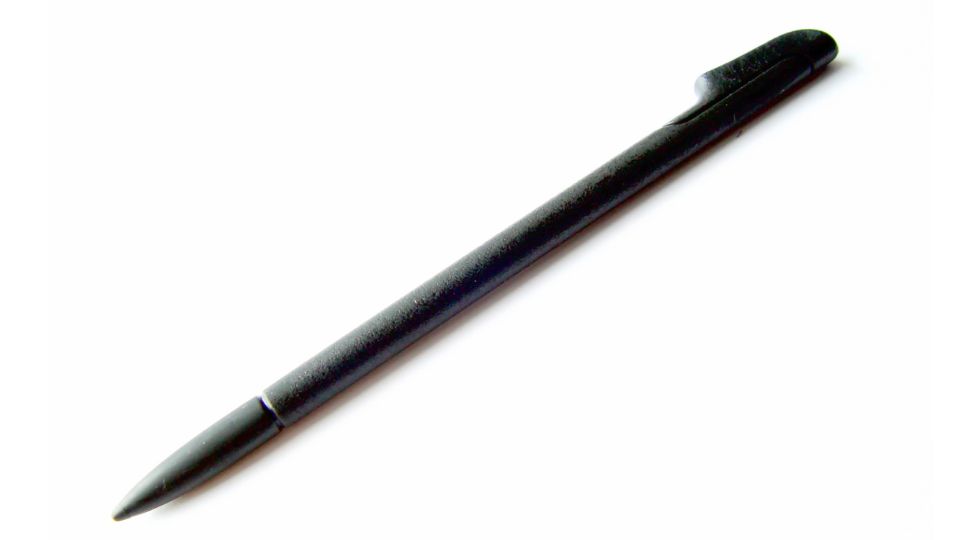
Nếu Chromebook của bạn đi kèm với bút stylus, bạn cũng có thể sử dụng nó để chụp ảnh màn hình.
- Tháo bút stylus ra khỏi khe cắm của nó để hiển thị menu bút stylus.
- Chọn tùy chọn “Chụp màn hình” để chụp ảnh màn hình toàn màn hình hoặc “Vùng chụp” để chọn một khu vực cụ thể.
- Nếu bạn chọn “Chụp vùng”, hãy sử dụng bút stylus để vẽ xung quanh khu vực bạn muốn chụp.
Phương pháp 4: Sử dụng Công cụ chụp màn hình
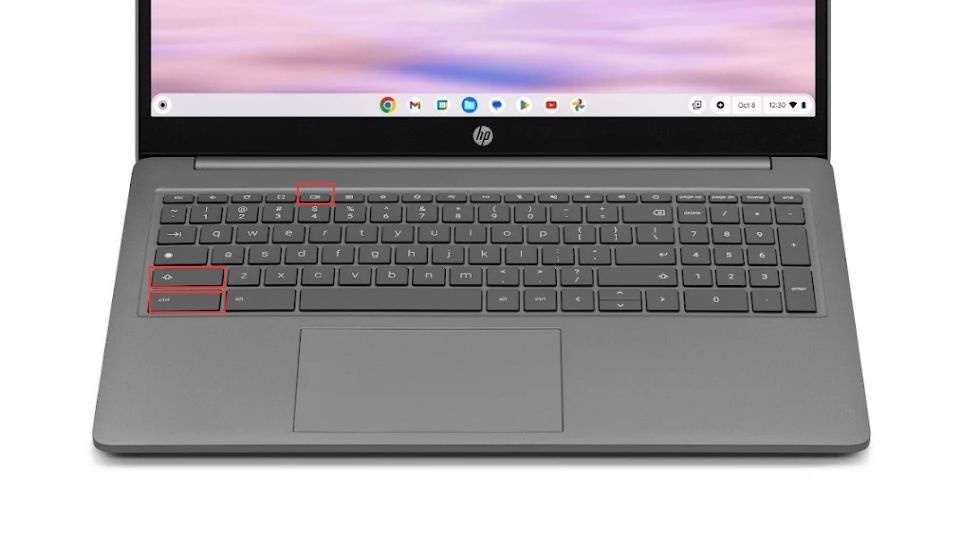
Chrome OS có một công cụ chụp màn hình tích hợp mà bạn có thể sử dụng để chụp ảnh màn hình và ghi lại màn hình của mình.
- Nhấn Ctrl + Shift + Hiển thị các phím Windows để mở thanh công cụ chụp màn hình.
- Chọn giữa các tùy chọn ảnh chụp màn hình và ghi màn hình.
- Đối với ảnh chụp màn hình, hãy chọn các tùy chọn toàn màn hình, một phần màn hình hoặc cửa sổ nếu cần.
- Nhấp hoặc nhấn vào màn hình hoặc kéo để chọn khu vực cần chụp.
Nơi để tìm ảnh chụp màn hình của bạn

Theo mặc định, ảnh chụp màn hình được lưu trong thư mục Tải xuống trên Chromebook của bạn. Bạn có thể truy cập chúng bằng cách mở ứng dụng Tệp và điều hướng đến thư mục Tải xuống.
Mẹo khắc phục sự cố
- Ảnh chụp màn hình không hoạt động: Đảm bảo rằng bạn đang nhấn tổ hợp phím chính xác. Nếu bạn đang sử dụng bàn phím ngoài, bố cục phím có thể khác nhau.
- Không có thông báo: Nếu bạn không thấy thông báo sau khi chụp ảnh màn hình, hãy kiểm tra thư mục Tải xuống của bạn. Ảnh chụp màn hình có thể đã được lưu mà không cần thông báo.
- Lưu trữ hạn chế: Nếu bạn sắp hết dung lượng, Chromebook của bạn có thể không lưu ảnh chụp màn hình. Hãy thử xóa một số tệp hoặc di chuyển chúng vào Google Drive.
Mẹo và thủ thuật bổ sung
- Chỉnh sửa ảnh chụp màn hình: Sau khi chụp ảnh màn hình, nhấp vào thông báo xuất hiện để nhanh chóng chỉnh sửa hình ảnh bằng trình chỉnh sửa hình ảnh tích hợp.
- Khay nhớ tạm: Ảnh chụp màn hình cuối cùng của bạn cũng được lưu vào clipboard của bạn. Nhấn Ctrl + V để dán trực tiếp vào tài liệu hoặc trình chỉnh sửa hình ảnh.
- Nguồn + Giảm âm lượng: Nếu bạn có máy tính bảng Chromebook hoặc thiết bị 2 trong 1, bạn có thể chụp ảnh màn hình bằng cách nhấn nút Nguồn và nút Giảm âm lượng cùng nhau, giống như trên các thiết bị Android.
- Sử dụng tiện ích mở rộng: Đối với các tính năng nâng cao hơn, hãy cân nhắc thêm tiện ích mở rộng ảnh chụp màn hình từ Cửa hàng Web Chrome, chẳng hạn như Lightshot hoặc Nimbus Screenshot.
Làm chủ ảnh chụp màn hình Chromebook?
Chụp ảnh màn hình trên Chromebook rất đơn giản khi bạn biết các phương pháp khác nhau có sẵn. Cho dù bạn đang nắm bắt thông tin cho công việc, lưu một khoảnh khắc đáng nhớ hay tạo nội dung, các công cụ và phím tắt này sẽ giúp bạn hoàn thành công việc một cách nhanh chóng và hiệu quả. Nếu bạn gặp bất kỳ sự cố nào, hãy tham khảo các mẹo khắc phục sự cố được cung cấp và nhớ khám phá các tính năng bổ sung với tiện ích mở rộng để có trải nghiệm chụp màn hình mạnh mẽ hơn nữa.


